Introduction
Welcome to TraceEducation!
TraceEducation is a powerful, easy-to-use education platform for all your security awareness training needs.
This user guide introduces TraceEducation and shows how to use the application, building a distribution from start to finish.
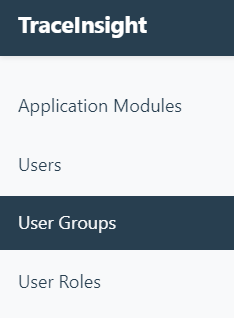
Insight User Management
In TraceEducation, user and group management is handled at the TraceInsight level.
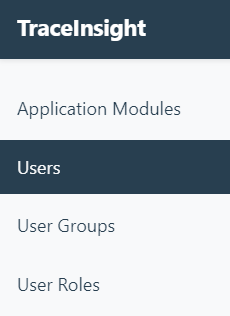
On the Users page, you can create individual users, import users from CSV, or set up the Active Directory User Sync Tool.

Managing Individual Users
Creating Individual Users
To create an individual user, click the Create User button, fill out the required fields, and click Save.
The Email field will serve as the unique identifier for each user. Please double-check the spelling on this field as it cannot be edited after saving the user.
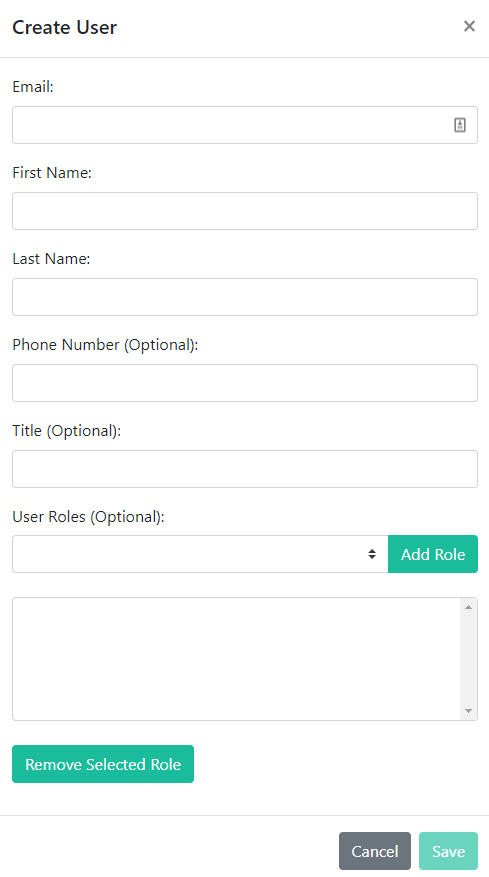
User Roles are optional at this stage, but will come in handy later when you are creating a distribution. TraceSecurity recommends adding the TraceEducationModuleAccess role at this time to ensure proper permissions for the new user you are creating.

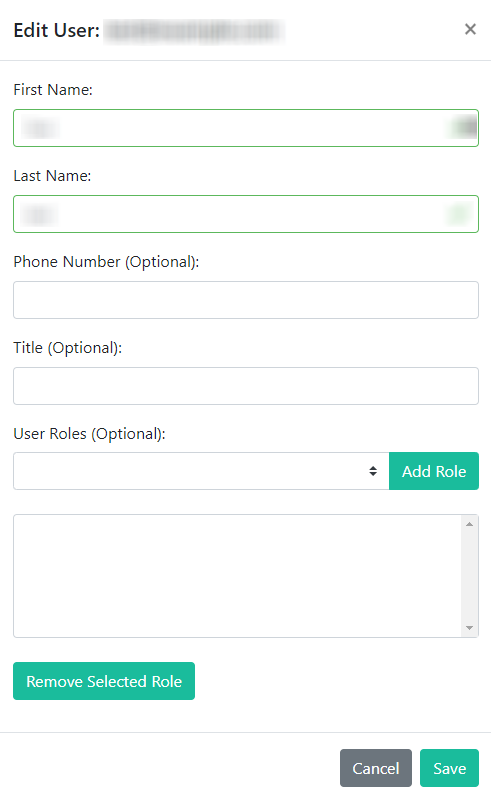
Editing Individual Users
To edit an individual user, click the Edit button next to the user. You can make changes to the user's editable fields as well as add or remove Insight User Roles. Click Save when you are finished making your edits.
User Actions
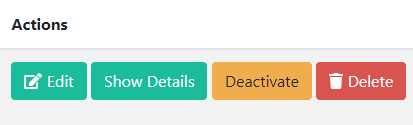
Deactivate
- This action will remove a user from the front-end view of all application modules in TraceInsight.
- You can apply this designation on an individual basis to account for users going on leave or otherwise becoming inapplicable to your TraceEducation distribution needs.
You can view inactive users using the Filters button at the top of the Users page.

You can re-activate users as needed to make them active participants in your education distributions. See View Results for more information on how inactive users will appear in the context of reporting.
Delete
- This action will permanently delete a user from your application.
- You can use this designation to remove a user from history and reporting if you no longer need to retain those records.
Importing Users and Groups from CSV
To Import Users from CSV, download the example CSV file and fill out the necessary fields.
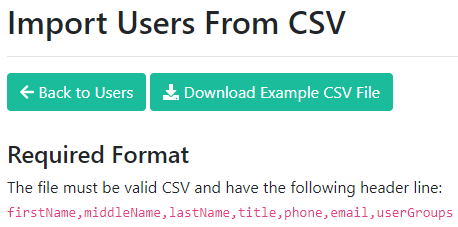
Please note that the following fields are required for each user: firstName, lastName, and email.
The userGroups field is optional at the import stage but will come in handy at the distribution level. See Organizing Users into Groups for notes on User Group setup.
Browse to find your CSV and click Upload File to update your user list.

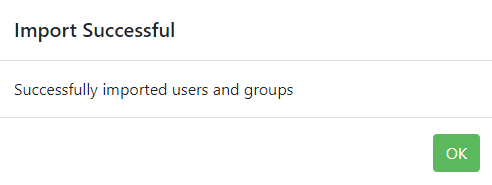
You should receive a message showing your import was successful; click OK to continue.
If you receive an error message that your import was not successful, try the following troubleshooting tips:
- Check your user information to remove special characters or typos.
- Check that your column headers match the Required Format.
- If you are importing an excessively large number of users, try breaking the groups up into separate CSV files to narrow down the error message.
- Wait a few minutes and check your Users page in TraceInsight to see if the import went through despite the error message you saw earlier.
Managing User Roles
User Roles represent the permissions that should be granted to users by the Company Admin.
As Company Admin, you may choose to delegate module access to other users within your organization. For the TraceEducation Module, the relevant roles are as follows:

- TraceEducationModuleAccess - this role will grant the assigned user(s) the ability to access the TraceEducation Module. TraceSecurity recommends adding this role to all user accounts who will be included in groups that will be targeted by training distributions.
- TraceEducationModuleAdmin - this role will grant the assigned user(s) administrative access to create distributions, courses, and videos.
Assigning & Removing User Roles
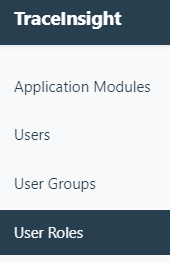
You can assign and remove User Roles on an individual basis in the Edit User dialog box (see Managing Individual Users for more information). You can also proceed to the User Roles page in TraceInsight to assign User Roles in bulk.
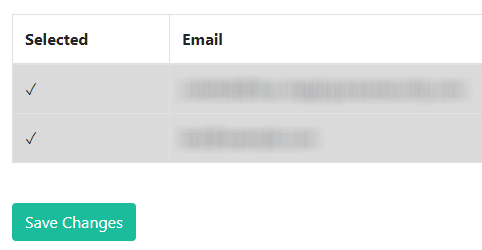
Next to the User Role that you are interested in assigning, click the Select Users button.

Under the Selected column, choose the users you wish to assign the User Roles to, and click Save Changes.
You should receive a message indicating successful assignment of the chosen User Role.
Organizing Your Users Into Groups
Groups make up the user assignments for course distributions. If you have logical groups for education training you will want to separate users into those groups based on that logical division.
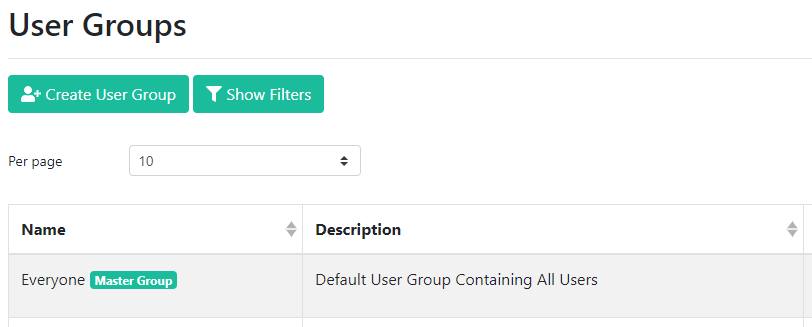
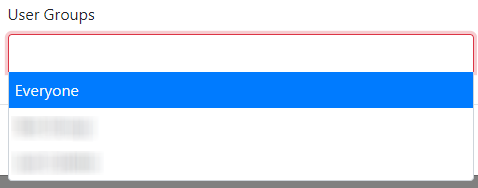
You can create a User Group (and add users to that group) at the CSV import stage, or you can go to User Groups in TraceInsight.
On the User Groups page, you can create a user group, edit an existing group, and add and remove users from a group.
The Everyone group is the Master Group which exists by default when your account is created. You cannot edit or delete the Everyone group.
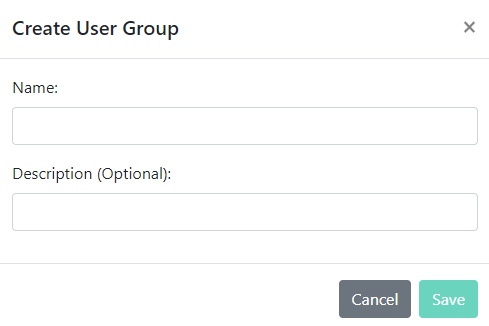
To create your own group, give it a Name (required) and Description (optional) and click Save.
For any group that you create, you can Edit its settings, Select Users to include in the group, and Delete the group when you are done using it.

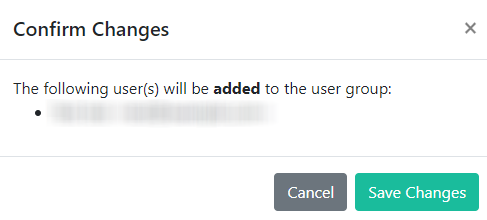
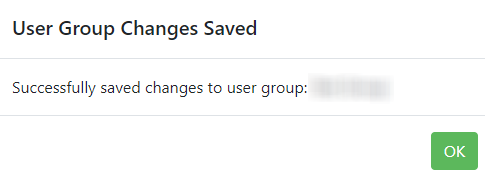
To include users in a group, click on the user entry to mark it as Selected. Click Save Changes and then confirm changes. You should receive a message showing your changes were successful; click OK to continue.
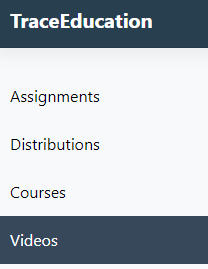
Videos
The Videos page gives you an overview of the training videos available to educate your users.
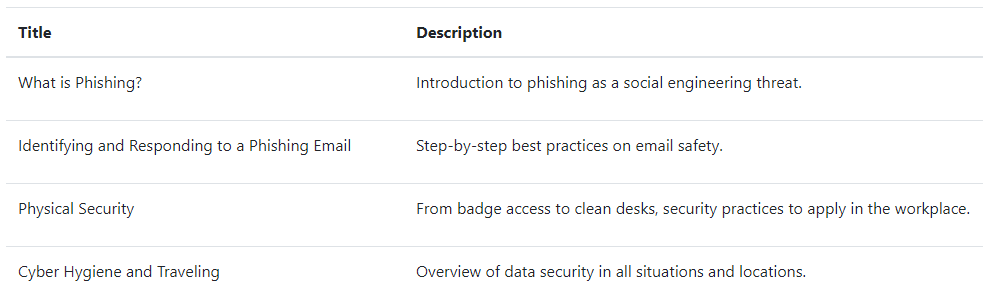
TraceEducation provides all TracePhishing customers with a selection of curated training videos developed with our industry experience and research in mind. These short videos created in-house represent the distillation of the latest information security topics into concise, easy-to-digest courses to disseminate to your end users. These courses can be automatically assigned to users who fail phishing campaigns and/or manually assigned to users on an as-needed basis.
Customers with a full subscription to TraceEducation will have further access to long-form educational videos. These in-depth training courses are developed by our trusted partner Stickley on Security, a leading industry expert adding new videos on a quarterly basis.
You may also choose to upload your own videos to further customize your organization's training approach. Click the New Video button to get started.

Give your video a Name (required) and a Description (optional). Click Browse to choose the video file on your computer, then click Save Video to complete the process.
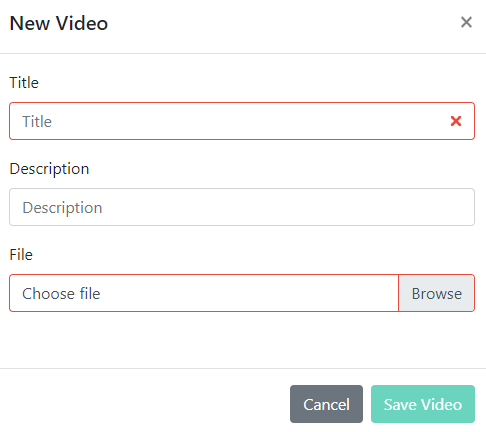
TraceSecurity recommends uploading .mp4 or .webm file types to TraceEducation as these formats are most likely to work across browser and OS versions.
Courses
The Courses page gives you an overview of the training courses available to assign to your users.
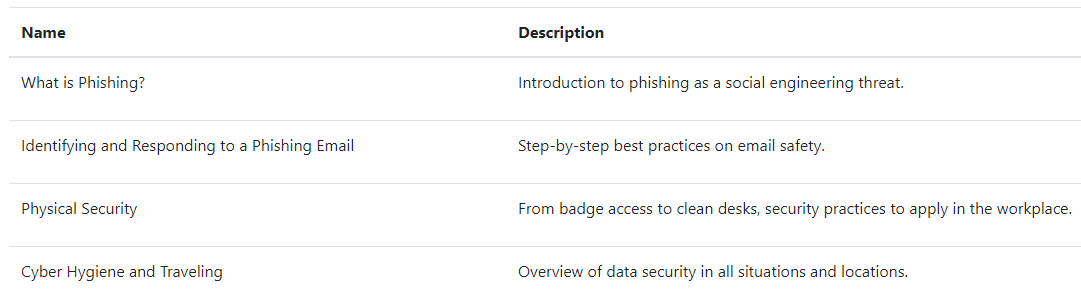
TraceEducation provides you with a selection of curated training content developed with our industry experience and research in mind. TraceSecurity has packaged the content you are familiar with from the Videos page, into easily-distributed courses to be assigned to your end users.
Customers with a full subscription to TraceEducation will see an extended library of long-form content developed in partnership with Stickley on Security, an industry leader in information security solutions.
You may also choose to create your own courses to further customize your organization's training approach. Click the New Course button to get started.
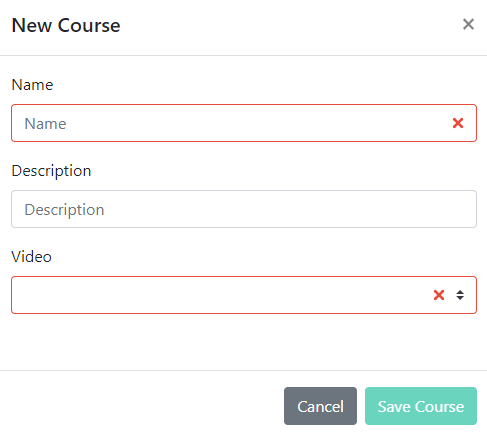
Give your course a Name (required) and a Description (optional). Choose a Video from the dropdown menu and click Save Course to complete your course.
To upload a customized training video, check the Videos section for more information.
Distributions
Distributions are the method by which you disseminate training courses to your end users.
You can choose between Scheduled Distributions and Campaign-Based Distributions.

Scheduled Distributions
Create a Scheduled Distribution to send an education course at the time of your choosing to the group(s) of your choosing. Click the button to get started.
In the resulting New Scheduled Distribution window, please note that all fields are required.
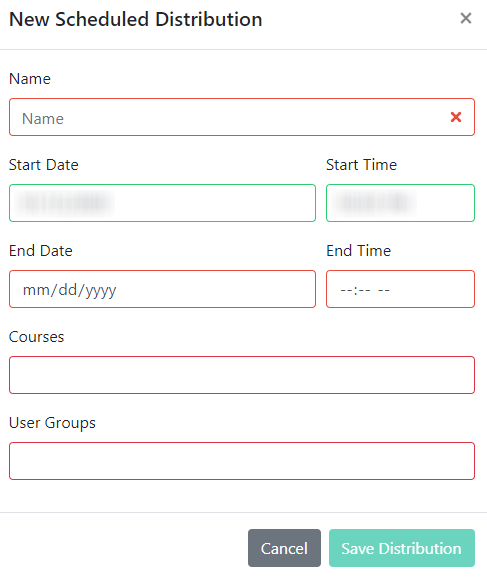
Give your distribution a Name, and choose a Start Date and Start Time. Select an End Date and End Time to set a due date for your end users to complete the course.
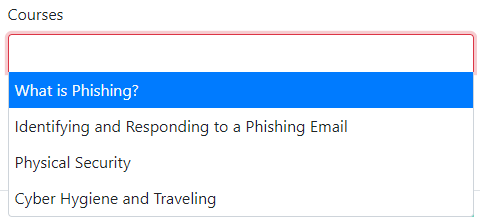
Next, choose one or more Courses from the dropdown menu.
Then, choose one or more Groups from the corresponding dropdown menu.
Once all the fields are completed to your specifications, click Save Distribution to schedule your distribution.
Campaign-Based Distributions
Create a Campaign-Based Distribution to send an education course based on the results of a specific phishing campaign.
The Campaign-Based Distribution will not kick off until the associated phishing campaign is completed.
Click the button to get started.

In the resulting New Campaign-Based Distribution window, please note that all fields are required.
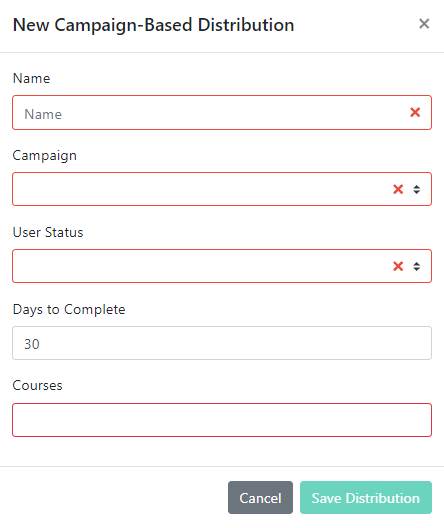
Give your distribution a Name. Select the Campaign that you want the distribution to be based on. Choose from the dropdown menu the User Status you wish to target with training.
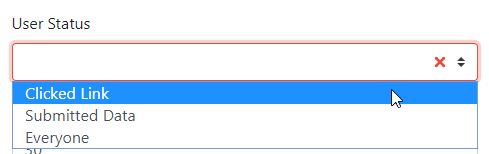
Clicked Link - choosing this status will send the course distribution to any user who clicked the link by the time you completed the campaign.
Submitted Data - choosing this status will send the course distribution to any user who submitted data into the landing page by the time you completed the campaign. Remember, your phishing campaign must include a landing page tracking data submission fields in order to utilize this status.
Everyone - choosing this status will send the course distribution to all the users who were targeted in the phishing campaign.
Type in the Days to Complete field to set the due date for your end users to complete the course.
Please note, the Days to Complete number that you type in, will start at the time you mark your phishing campaign as completed, not at the current date. If you had marked a previous campaign completed multiple days or weeks ago, you will need to factor that delay into your Days to Complete calculation in order to give your users enough time to access their training.
Next, choose one or more Courses from the dropdown menu.
A completed Campaign-Based Distribution setup will look something like this:
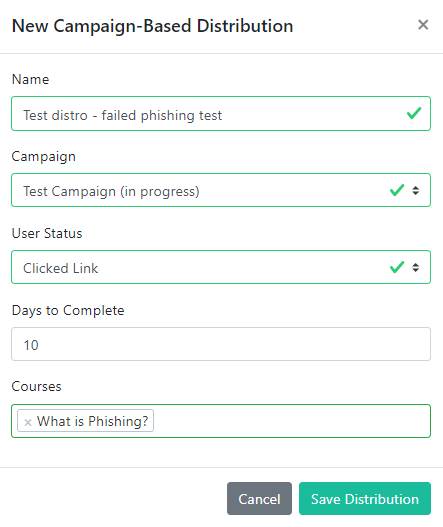
Finally, click Save Distribution to schedule your distribution.
Remember, the course will only distribute once the associated phishing campaign is marked as Complete.
Once you have saved your distribution, proceed to View Results.
View Results
Once you have launched a distribution, as an admin you can view the results to track your end users' progress.
On the Results page for the particular distribution, you can see the details for each course included in the distribution.
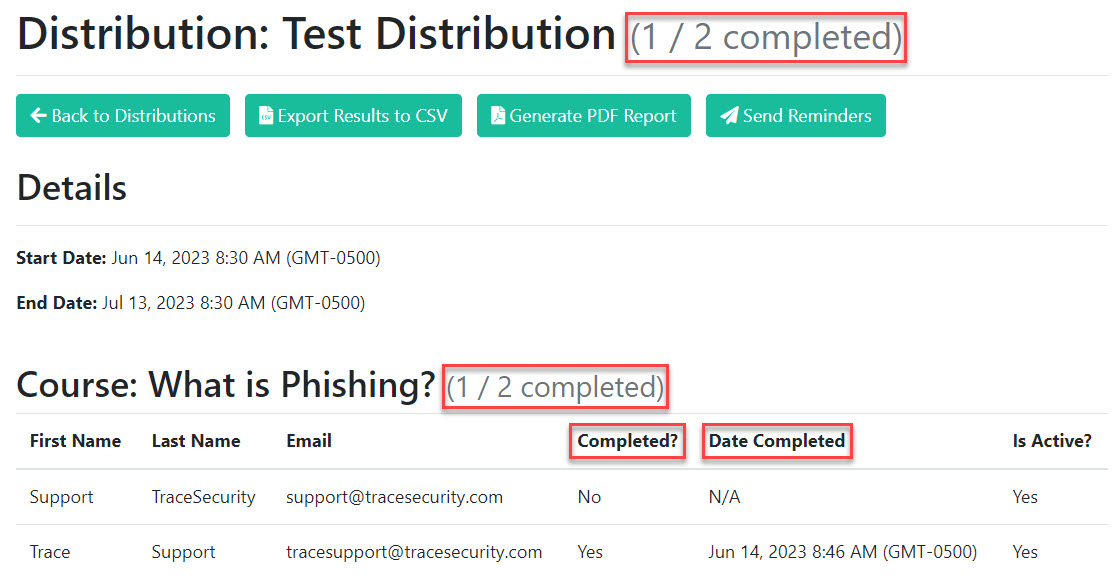
You can track users' assignments as they are completed, with the Date and Time Completed tracked accordingly.
Send Reminders
For your users who have not yet completed the assignment, you may want to send them a reminder to jog their memory.
TraceEducation offers a convenient Send Reminders button which you as the distribution admin can use on-demand.

Clicking this button will generate an automatic reminder email from TracePhishing to all pending users in your Distribution. The email will provide the user with a fresh hotlink to take them directly to their assignment. Here is an example of an automatically generated email from TraceEducation:
Alternatively, TraceEducation is programmed to email your pending users on a weekly basis with automatic reminders and fresh hotlinks to access their training. These automatic reminder emails will cease when the user completes their training or when your distribution expires, whichever comes first.
The Is Active? Column, Explained
The Is Active? column refers to the user's status on the Users page in TraceInsight (See Managing Individual Users for more information). If any users who were included in the distribution are marked Inactive by a Company Administrator, you will see the following notification in the Distribution Details:

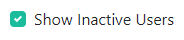
You can click "Show Inactive Users" to view these users in the Distribution Details.
The Distribution Details will update to show an entry for the inactive user; however, the distribution completion numbers will not reflect the inactive user.
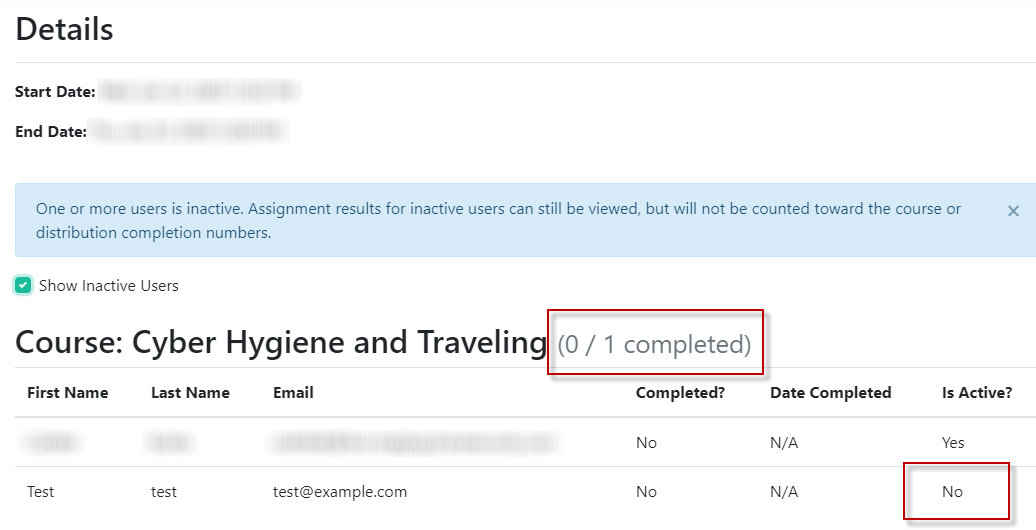
The inactive user will show a No in the Is Active column, and will not count against the completion numbers.
When you are ready to export the results for a distribution, you can choose to export as a CSV or as a PDF.

Assignments
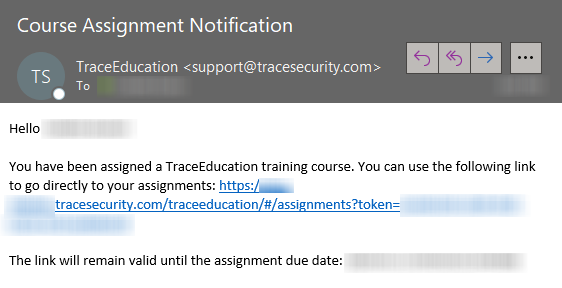
When a Company or Education Administrator assigns a course to an end user, the user will receive a notification email like this:

The hotlink included in the email will log the user directly into their Assignments page, where they can view and complete the training accordingly.
A reminder email with a fresh hotlink will be sent on a weekly basis by TraceEducation to all pending users until they complete their assignments. The reminder emails will stop either when the user completes the assignment OR when the expiration date of the distribution arrives (whichever comes first).
Alternatively, the user can log in to TraceInsight, access the TraceEducation module, and proceed to the Assignments page.
The Assignments page shows the end user which distributions and courses are assigned to their account.

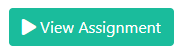
The user can click the View Assignment button to go into the particular course.
After watching the training video in its entirety, the user must then complete a short quiz to assess their understanding of the training content. For each question, the user must select the answer which most accurately reflects the question. Once they select their best guesses, they can click Submit to receive instant feedback.
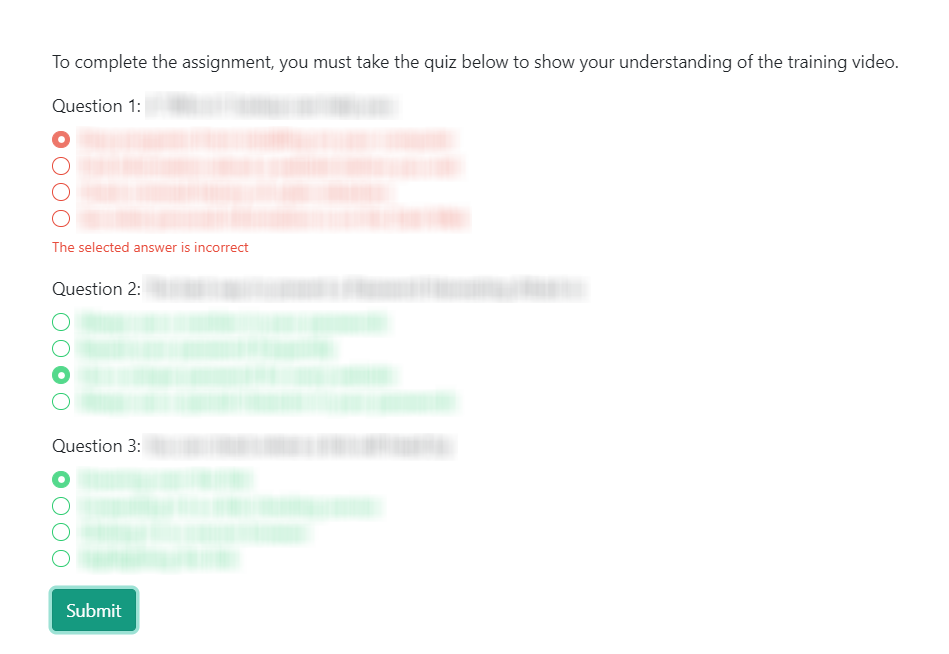
Incorrect answers will change color to red with a small note that "The selected answer is incorrect". The user must then make another guess and Submit their new answer(s) until all the questions are green.
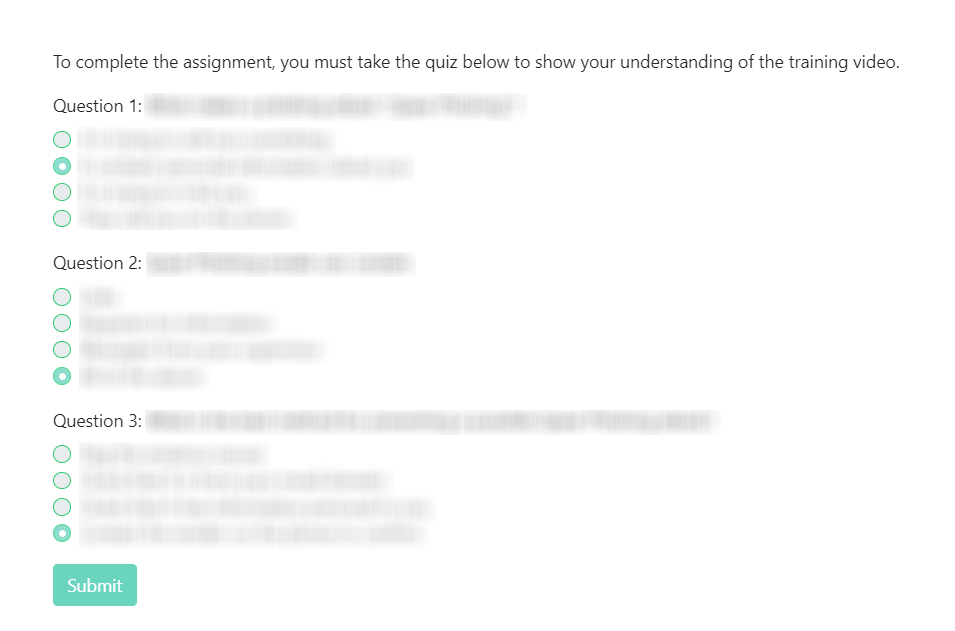
Once the user successfully completes the quiz, they will see a success message at the top of the page:

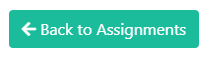
The user can then click Back to Assignments to see any other courses they need to undergo.
For the completed course, the Completed? column will show a Yes and the Date Completed column will show the date and time that the user completed the assignment.